5️⃣ Shipping Method
This tutorial is covering:
- How to create a Shopify market
- How to create a shipping method
- How to connect a shipping method to a market
- How to attach Baltix carrier(s) to a shipping method
Shopify Market
Creating a new market in Shopify admin panel is optional but recommended.
A Shopify market is a group of countries where you allow your store's products to be delivered.
Create a Market
- Head to your Shopify admin dashboard
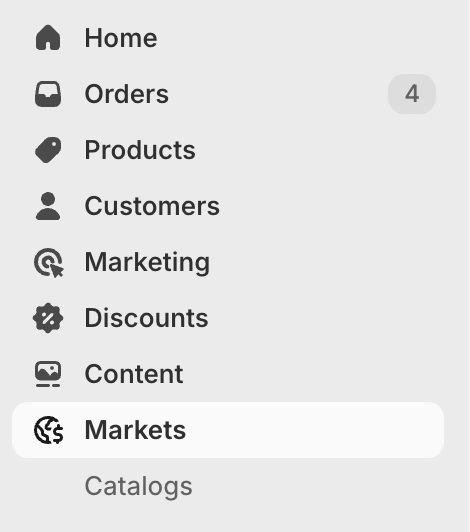
- Click on Markets in left side menu
- Click on Create market in the top right corner (1)

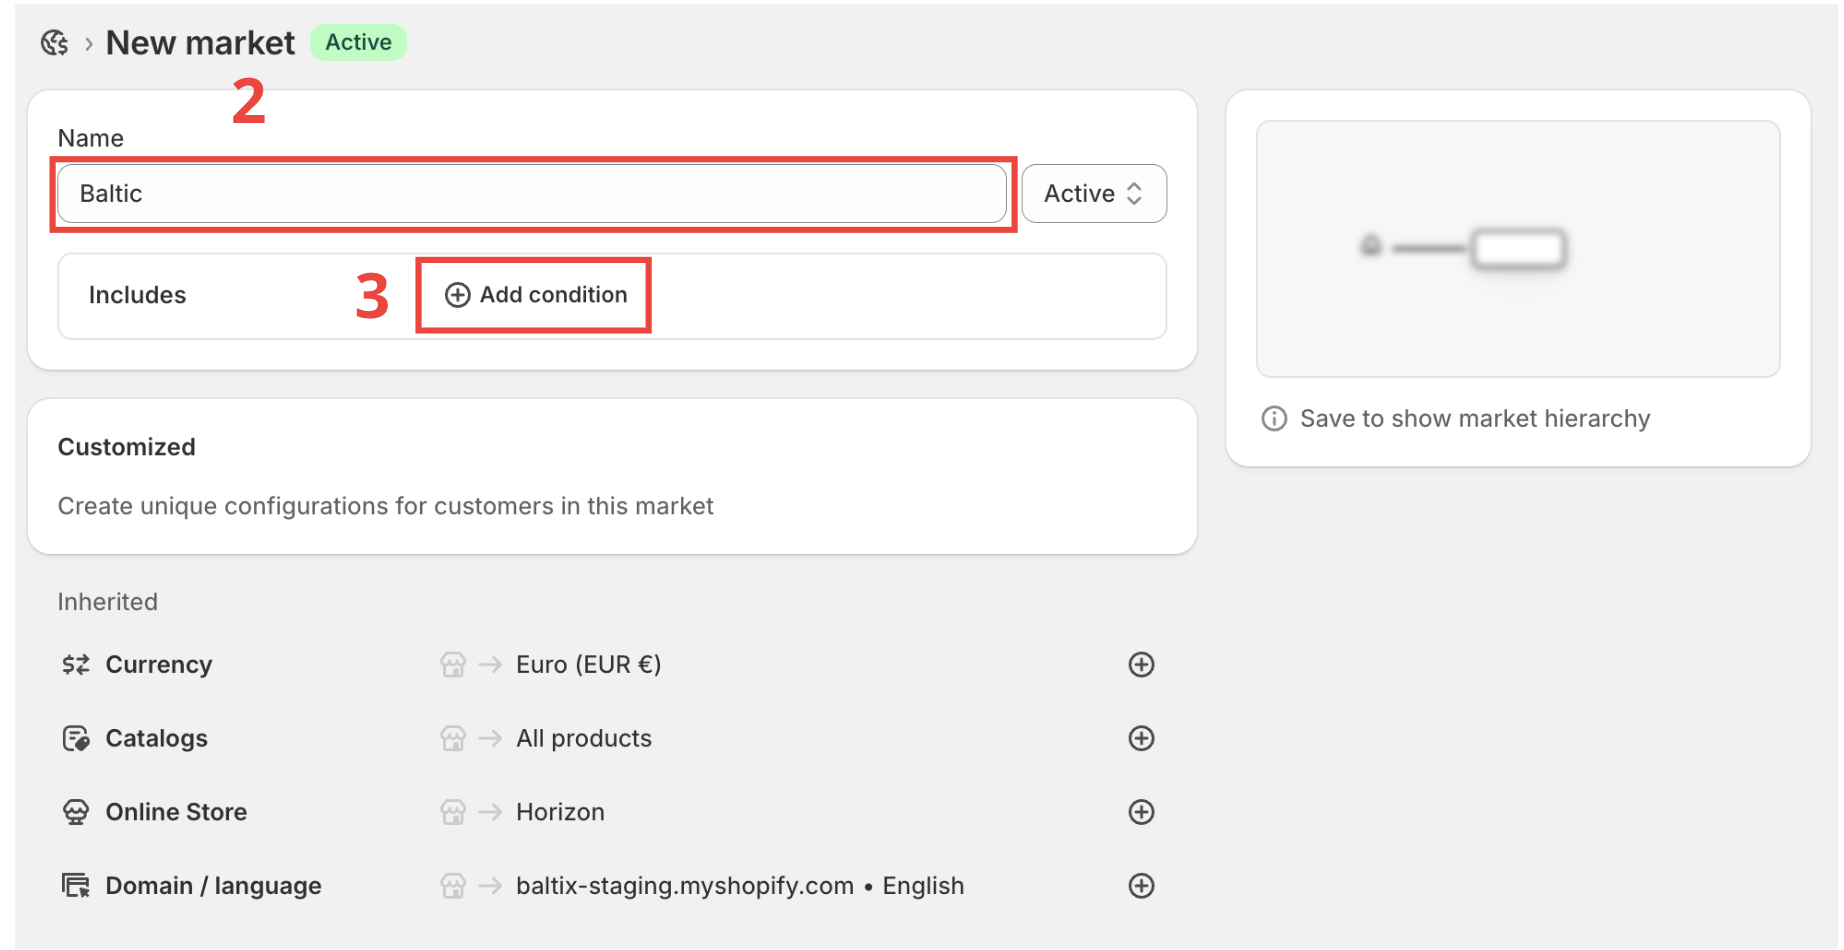
- Give a name to the market (2)
In our example: Baltic - Click on Add condition (3)
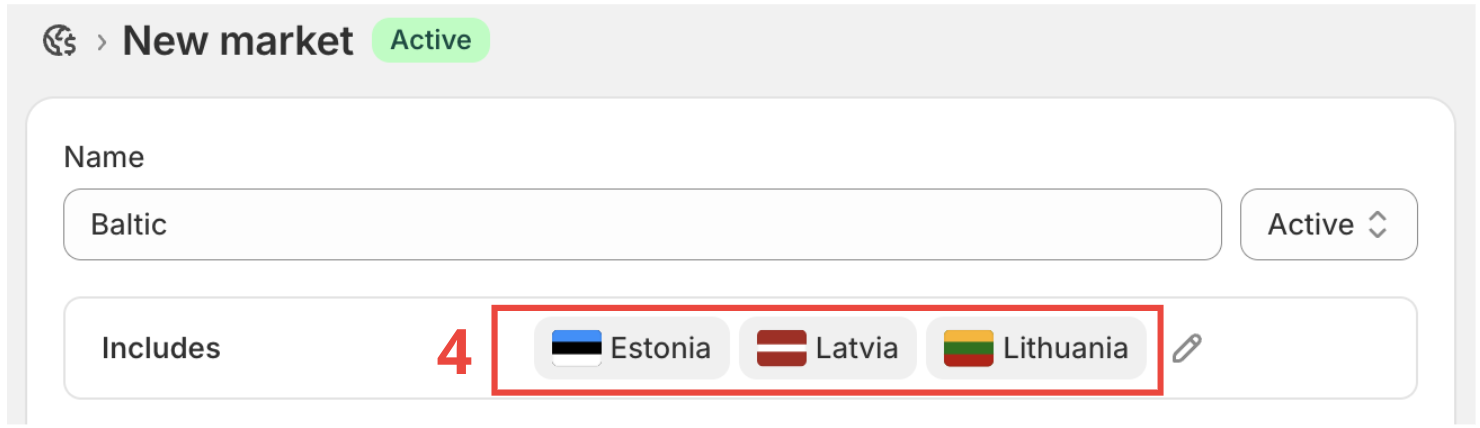
- In the opened modal, search for the countries you want to send your products to.
In our example Latvia, Estonia, Lithuania.
- Check that the selected countries are correct (4)
- Create the market by clicking on Save.
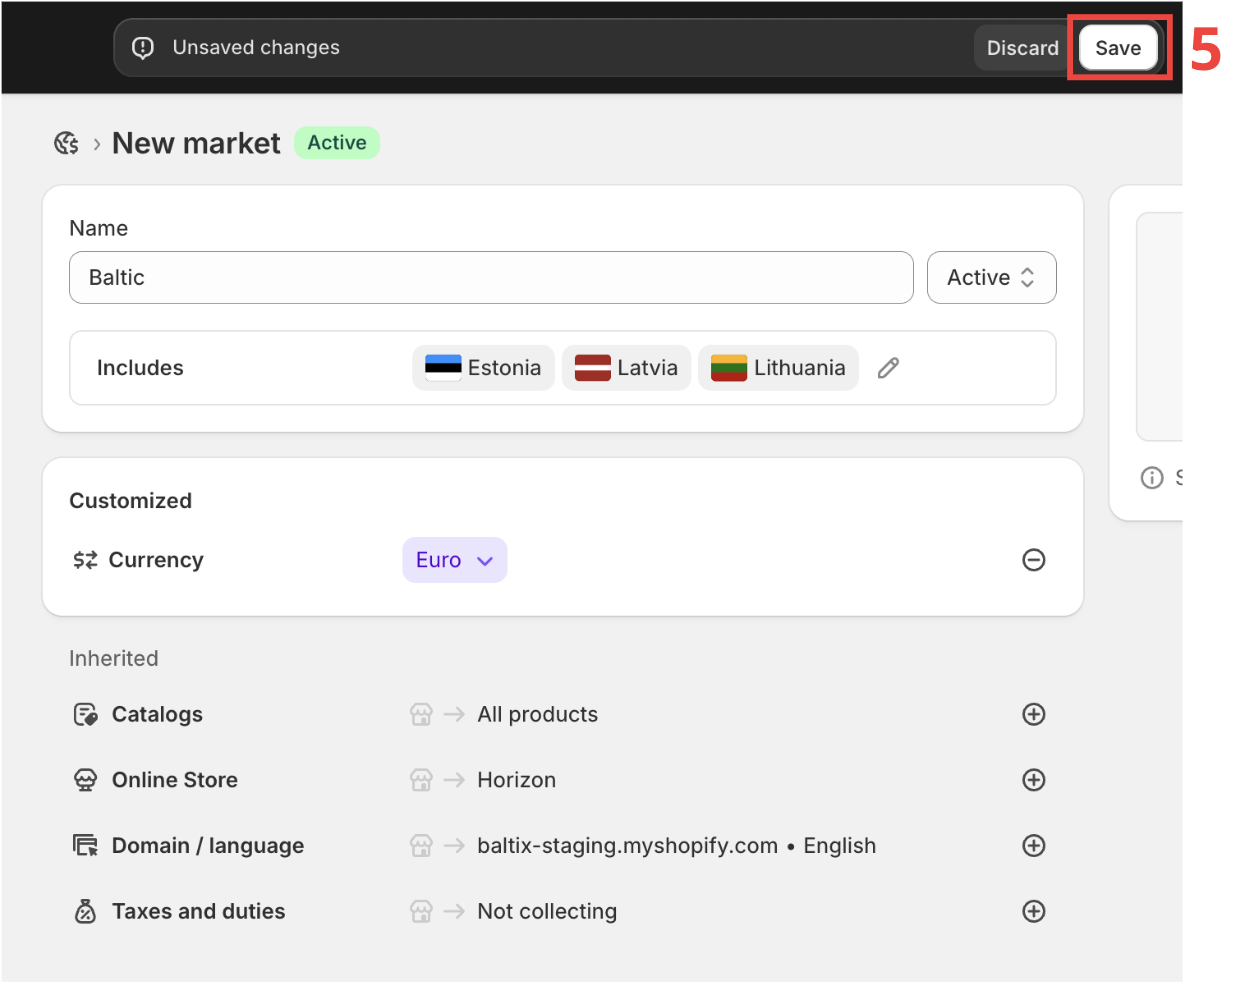
Bravo 🎉, you have created your first Market.
Shipping Method
Shipping methods in Shopify are the delivery options your customers will see at checkout.
We highly recommend creating a separate shipping method for Baltix to avoid any problems or incompatibility with other apps.
Create Shipping Method
- Head to your Shopify admin dashboard
- Click on Settings at the bottom of the left side menu

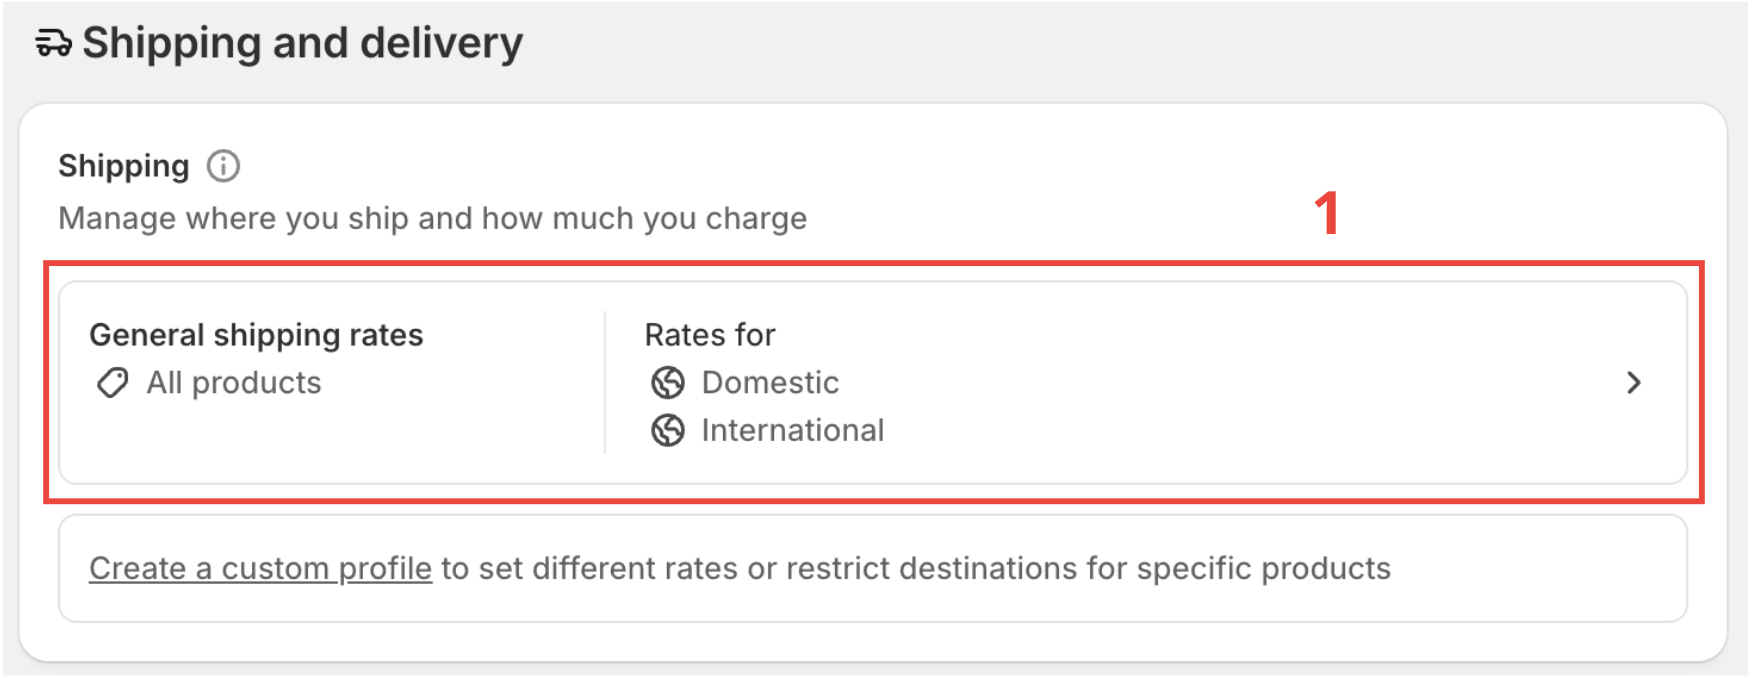
- Click on Shipping and delivery.
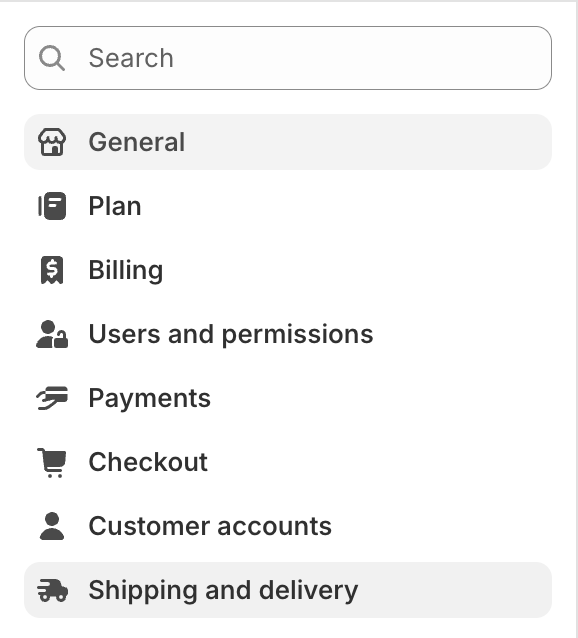
- Click on the card General shipping rates.
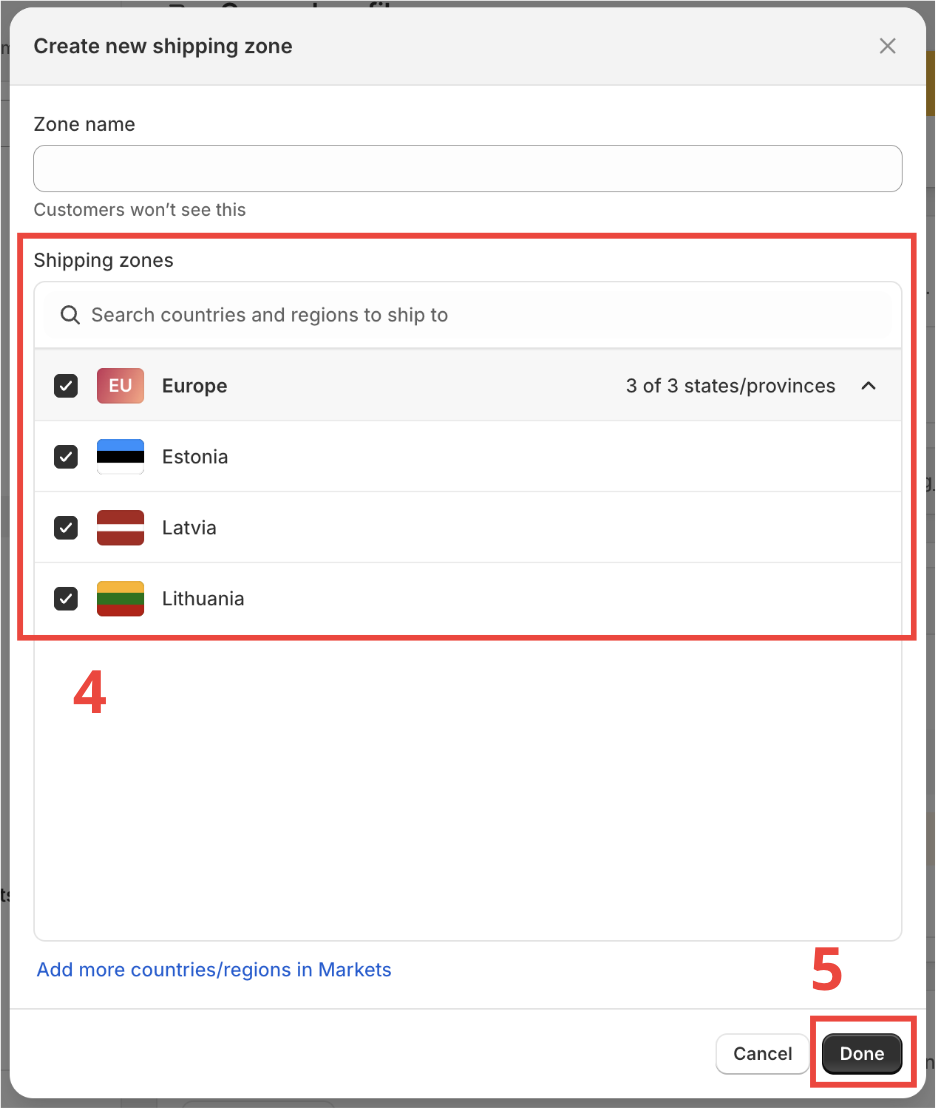
Select shipping zone
-
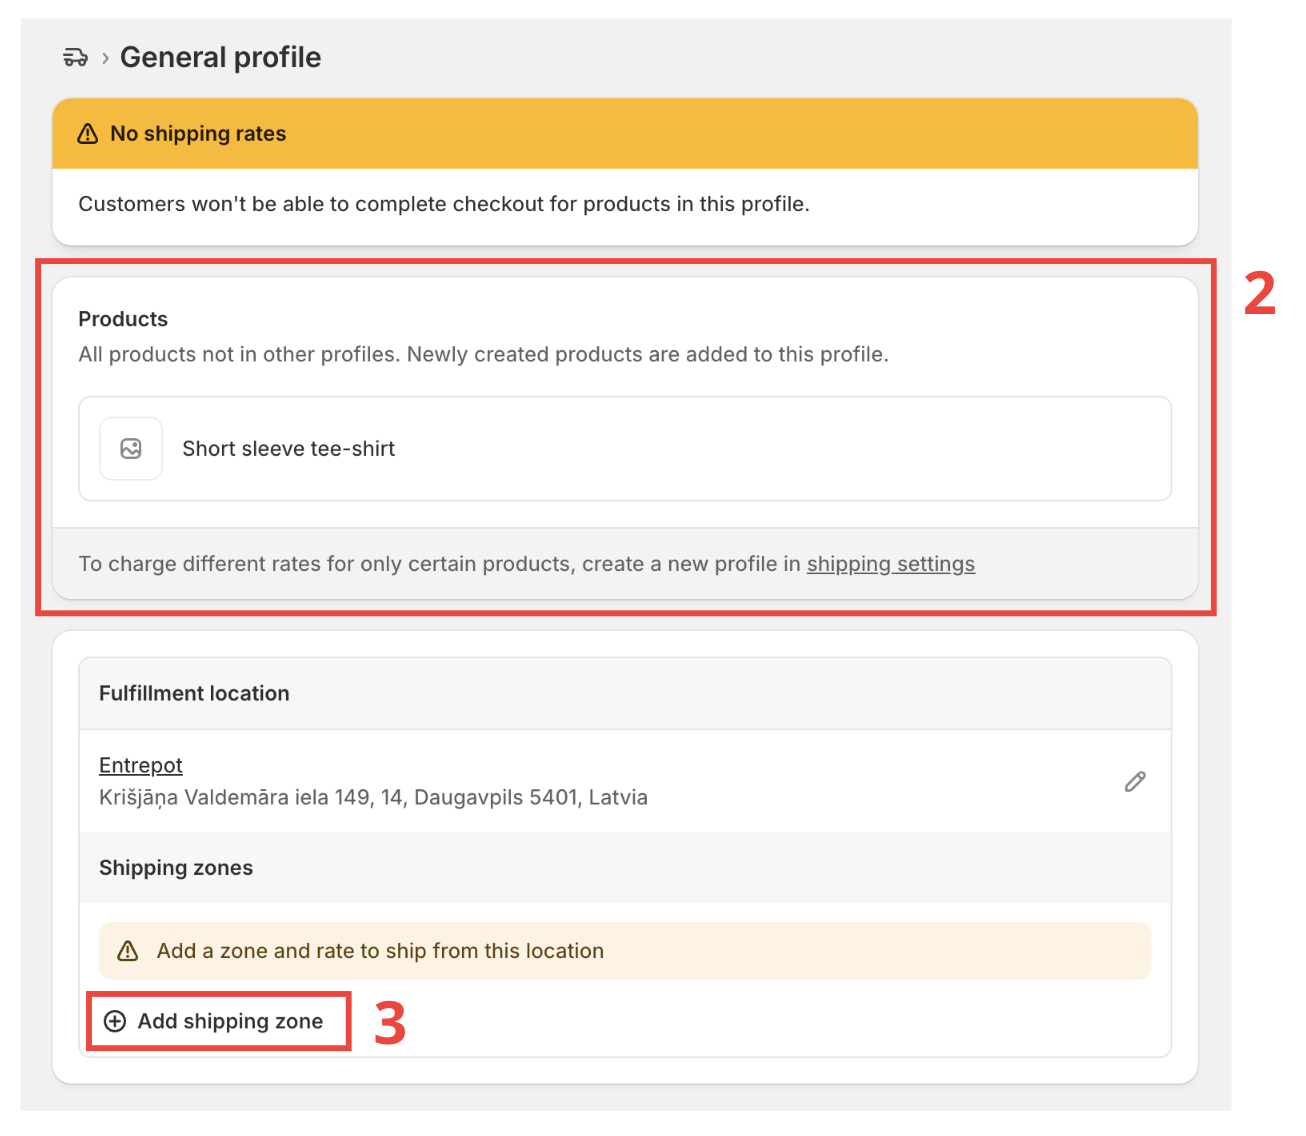
In (2) you can see all products to which the shipping method will apply.
By default, leave it as it is. -
Then click on Add Shipping zone (3)
- Select Europe (4), which will select the zone you defined in Market (Baltic Market for our example).
- Then click on Done (5).
Shipping rates
Shipping rates (a.k.a. shipping price) are the delivery options you see at checkout. Each shipping rate is a different shipping option.
Shipping rates depend on each carrier, delivery country, or address. You need to manually check the carrier documentation to find out what rate applies to you.
For now, there is no automatic rate calculation at checkout, but we are planning to offer this as soon as possible.
There are 2 different shipping rate setups:
One rate for all carriers
Use this setup when you have one or more carriers configured in the Baltix app and you want one shipping rate for all carriers.
Follow [Add shipping rates](#Add shipping rates).
One rate for each carrier
Use this setup when you have one or more carriers configured in the Baltix app and you want to set a different shipping rate for each.
Follow [Add shipping rates](#Add shipping rates) for each carrier configured in Baltix.
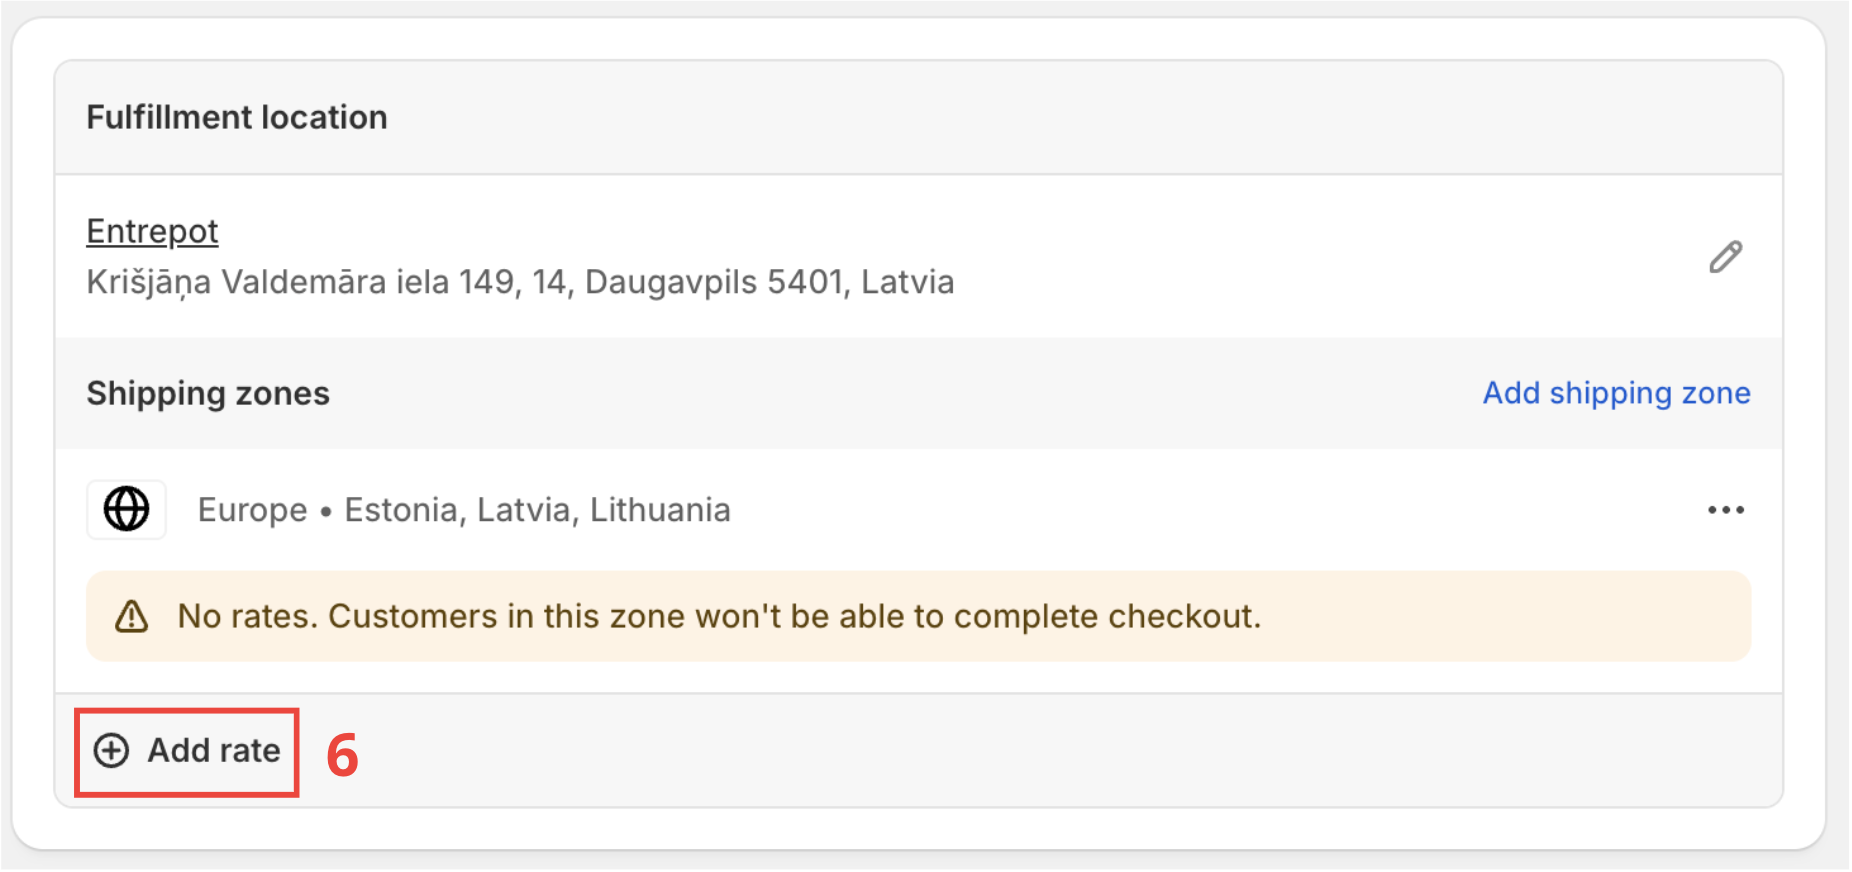
Add shipping rates
- Click on Add rate (6).
- Add a name (7) to the shipping rate. Set a meaningful name because this is the name that will be shown in delivery options on the checkout page.
- Set a price for the shipping rate (8).
- Click on Done to create the shipping rate.
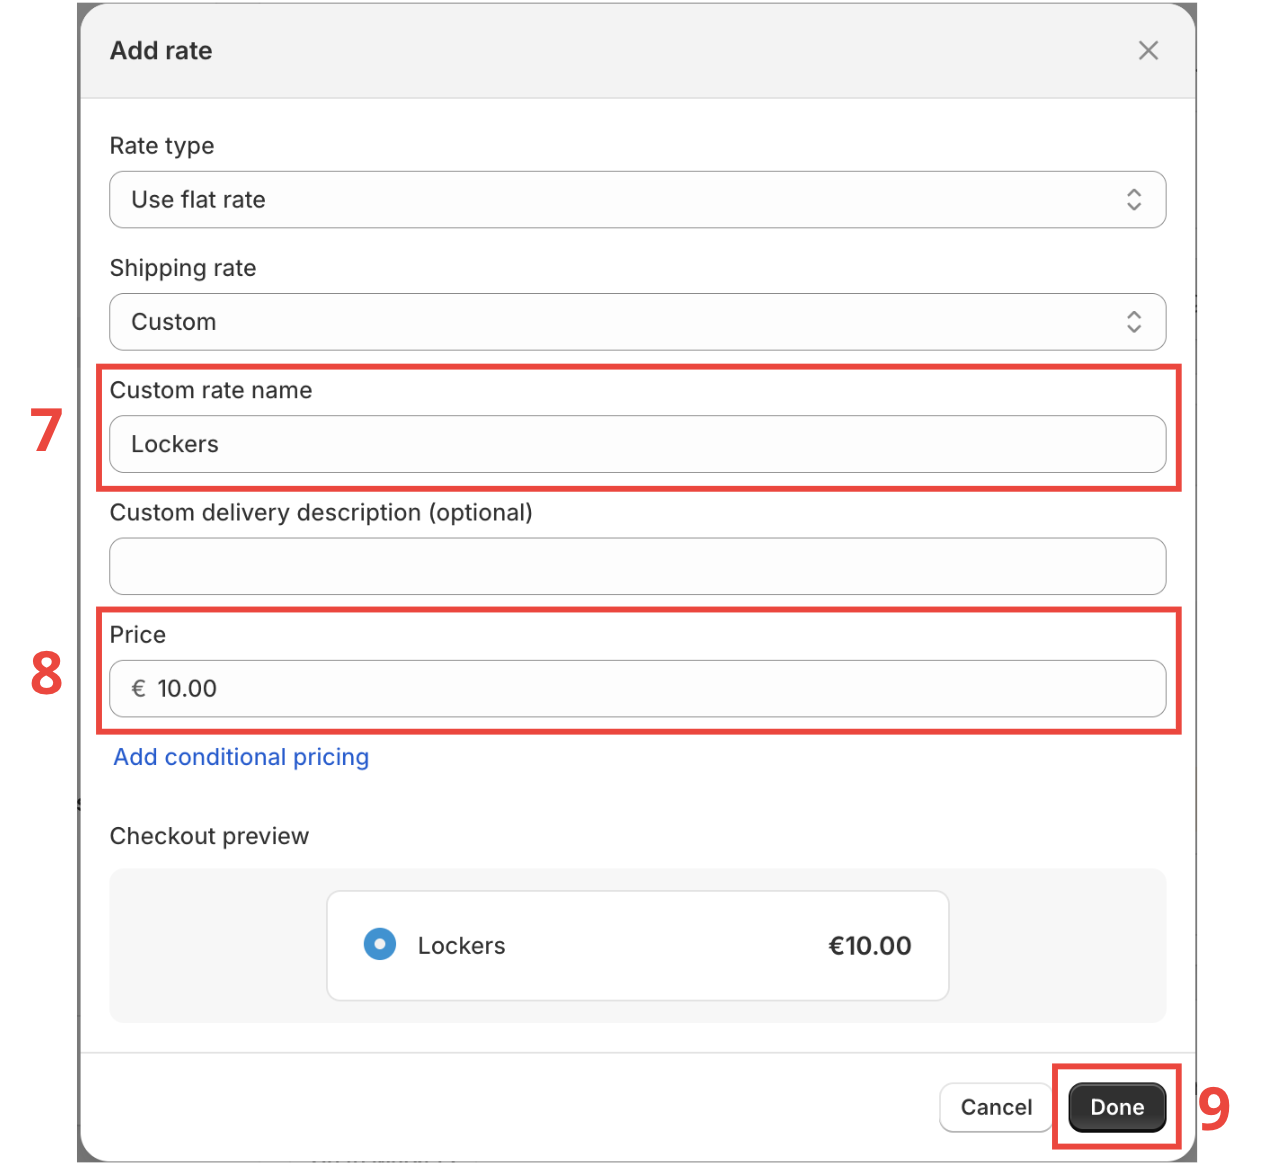
- Click on Save to finish the creation.

Well done 🎉 You have successfully created a shipping method.
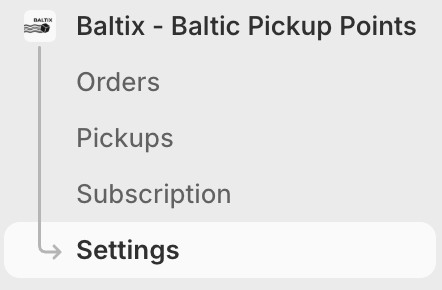
Attach a carrier to a shipping method in Baltix
- Head to your Baltix - Baltic Pickup Points
- Go to Settings
- Click on Pickup Points tab (1)
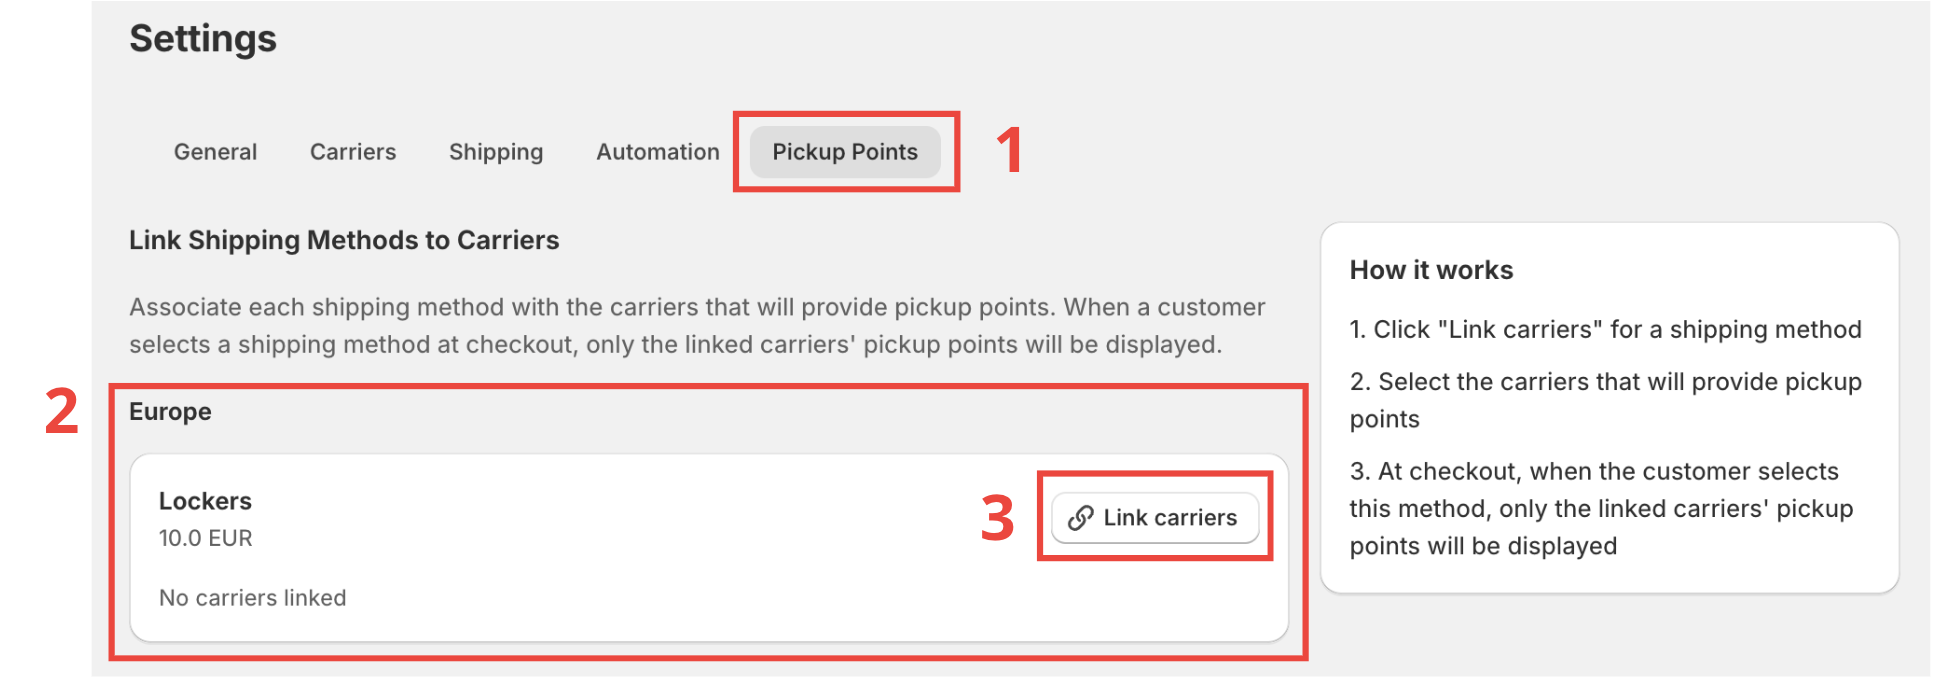
- (2) There you can see the previously created shipping rates.
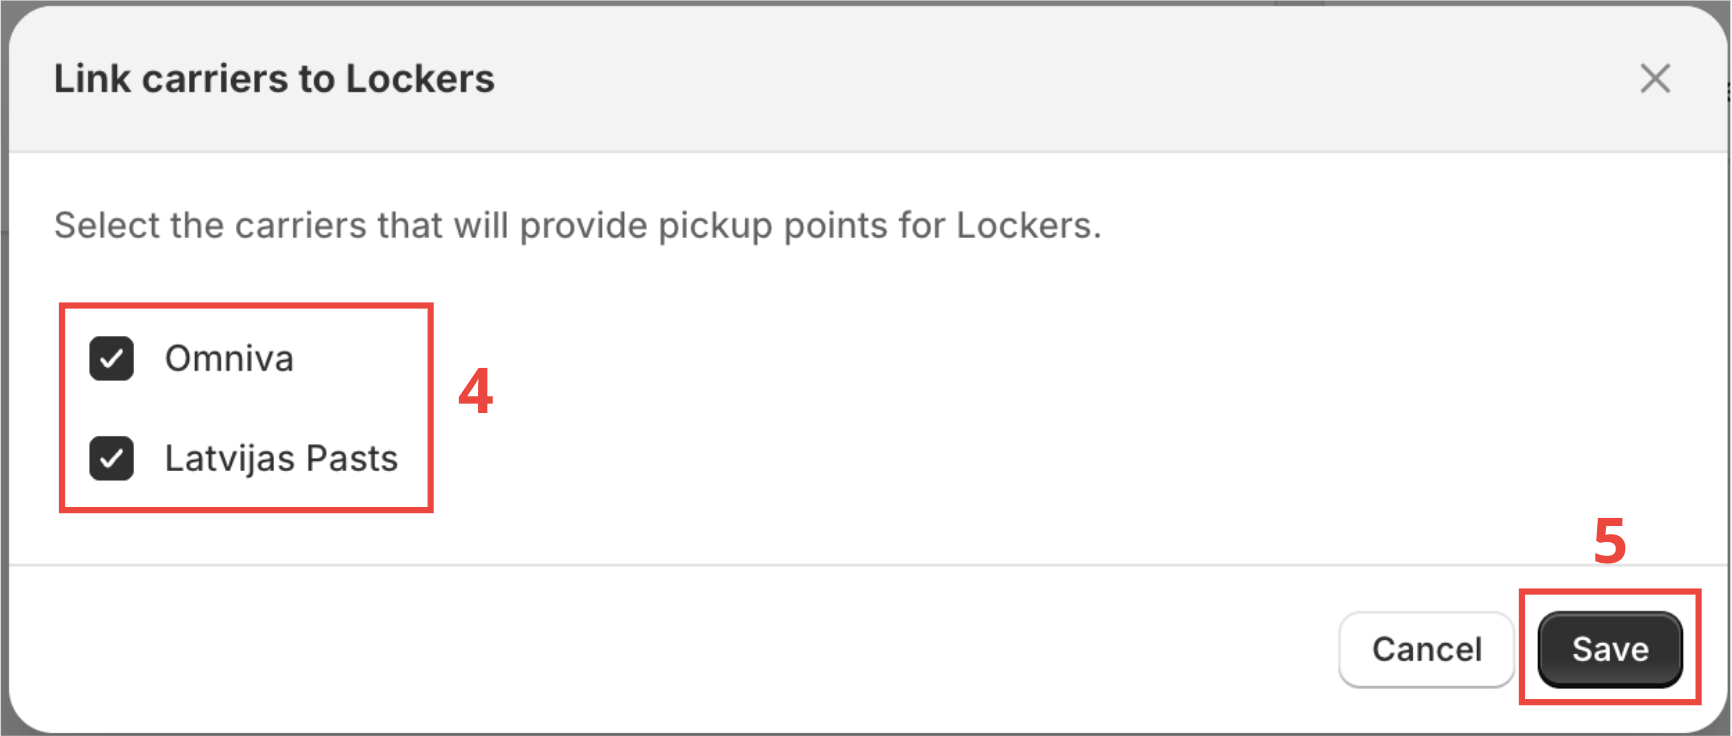
- Click on Link carriers (3) to attach a carrier.
- Select the carrier you want to link to this shipping method (4).
- Click on Save.